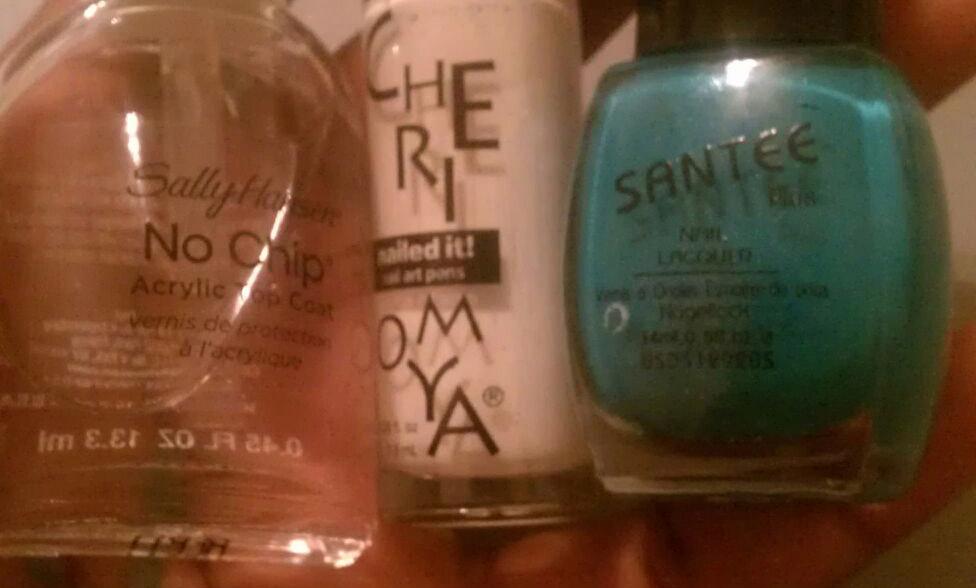
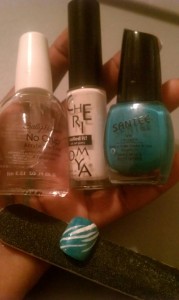
 Needed Materials If the design will be done on your own nail, you need a base coat with Aloe Vera to protect your nail. You also need a nail file, the color you would like to have as the background of the design, and the color you would like to have your zebra stripes to be, clear nail polish, nail polish remover, and q-tips.
Step 1: Nail Preparation: Remove any nail polish you may already have. Clip, file, and shape your nails as desired. Apply the base coat that protects your nails and allow for it to dry.
Step 2: Apply Background Color: Apply the background color to each nail, from cuticle to tips, until each nail is completely covered. Use q-tips dipped in nail polish remover to clean any polish that got on your skin. Allow to completely dry before moving on to the next step.
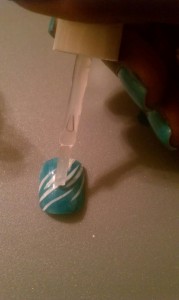
Step 3: Creating Your Pattern: For this step, use a polish that has a thin tipped brush created specifically for designs. Create your zebra pattern by painting lines wherever you like. This design looks best whenever the lines are all going close to the same direction. Notice that the lines that create the design (see the picture) start at the bottom left side of the nail. Each stroke of nail polish leads towards the top right nail tip. After achieving your desired look, allow it to completely dry to avoid smearing.
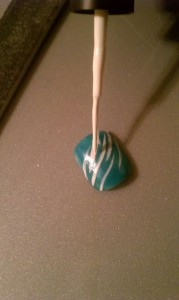
Step 4: Finishing Touch: Apply the clear top coat to avoid chipped paint and make your design look more professional.
